
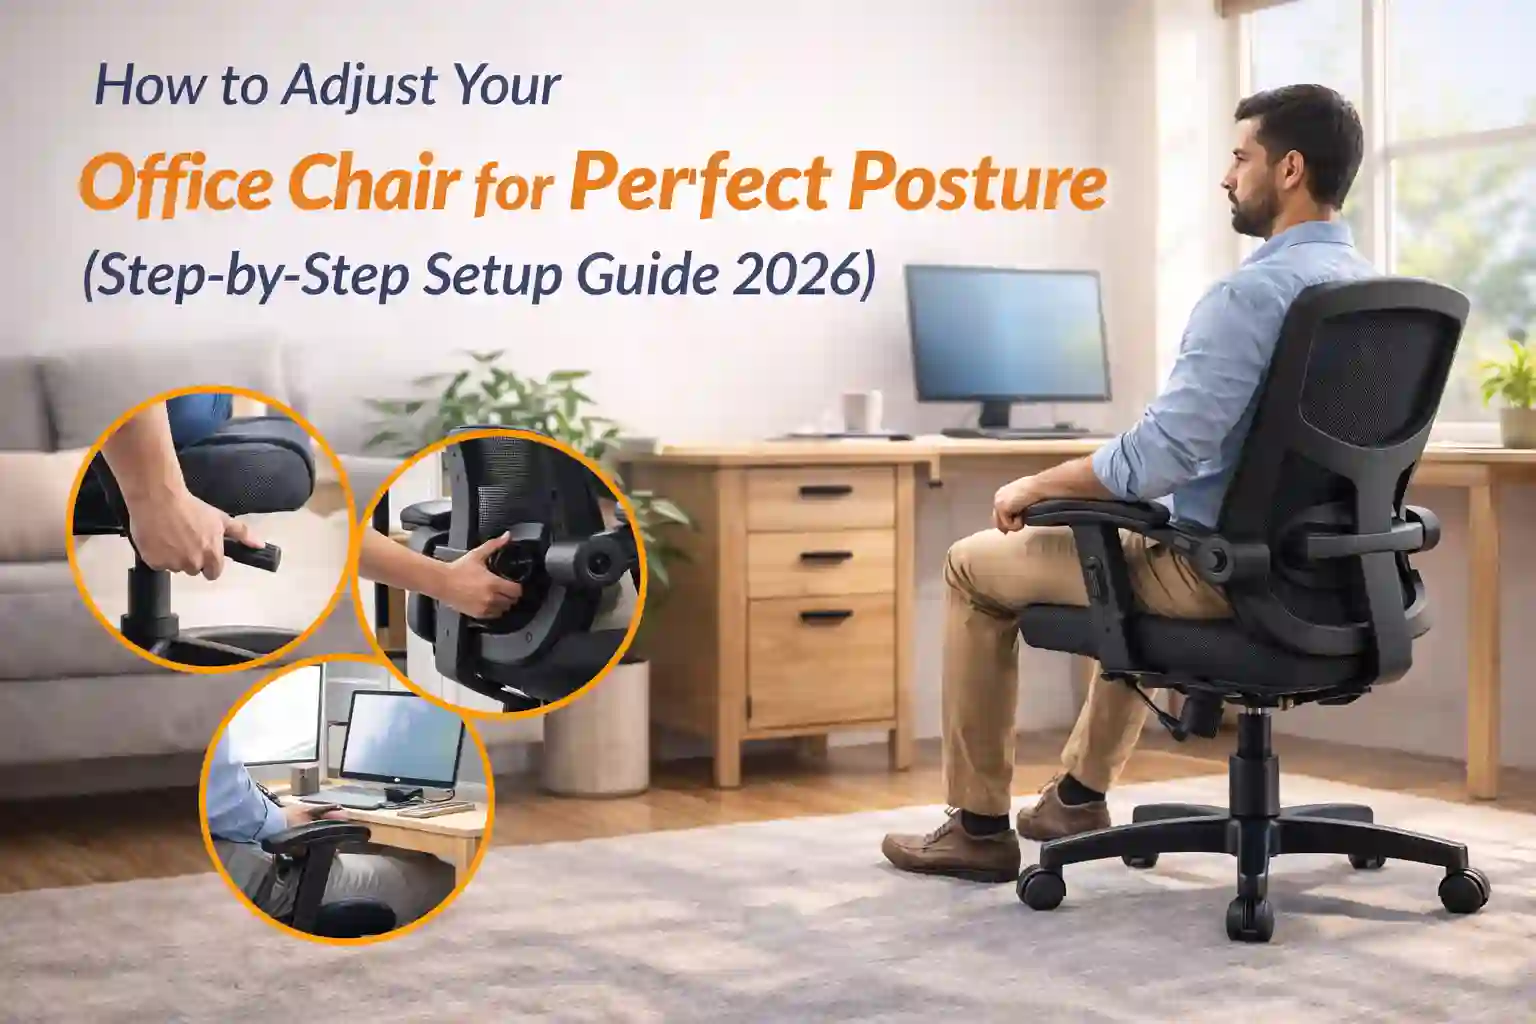
Your Chair May Be Good… But Is It Set Correctly?
Many people buy a good ergonomic office chair but still feel back pain.
Why?
Because the chair isn’t adjusted properly.
Even a $300 chair can feel uncomfortable if:
- seat height is wrong
- lumbar support is misplaced
- armrests are too high
- screen alignment is bad
The good news: fixing this takes only 5 minutes.
This guide shows exactly how to adjust your office chair for perfect posture and long-hour comfort.
Step 1: Adjust Seat Height First

This is the foundation of good posture.
Sit on your chair and check:
✔ Feet flat on the floor
✔ Knees at 90° angle
✔ Thighs parallel to ground
If your feet hang:
→ chair too high
If knees go above hips:
→ chair too low
Correct height reduces pressure on lower back and improves blood flow.
Step 2: Fix Lumbar Support Position
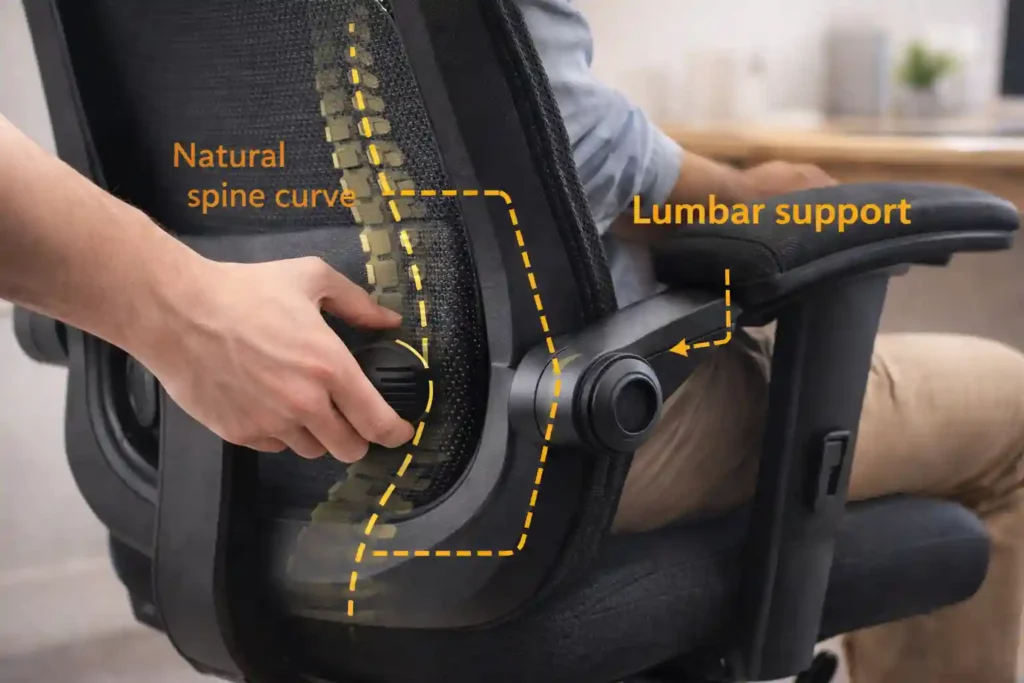
Lumbar support should touch your lower back curve, not middle back.
Many users place it too high — big mistake.
Correct placement:
✔ Support fits natural spine curve
✔ No gap between back and chair
✔ Feels supportive, not pushing
Proper lumbar support prevents slouching and long-term back pain.
Step 3: Adjust Seat Depth (If Available)
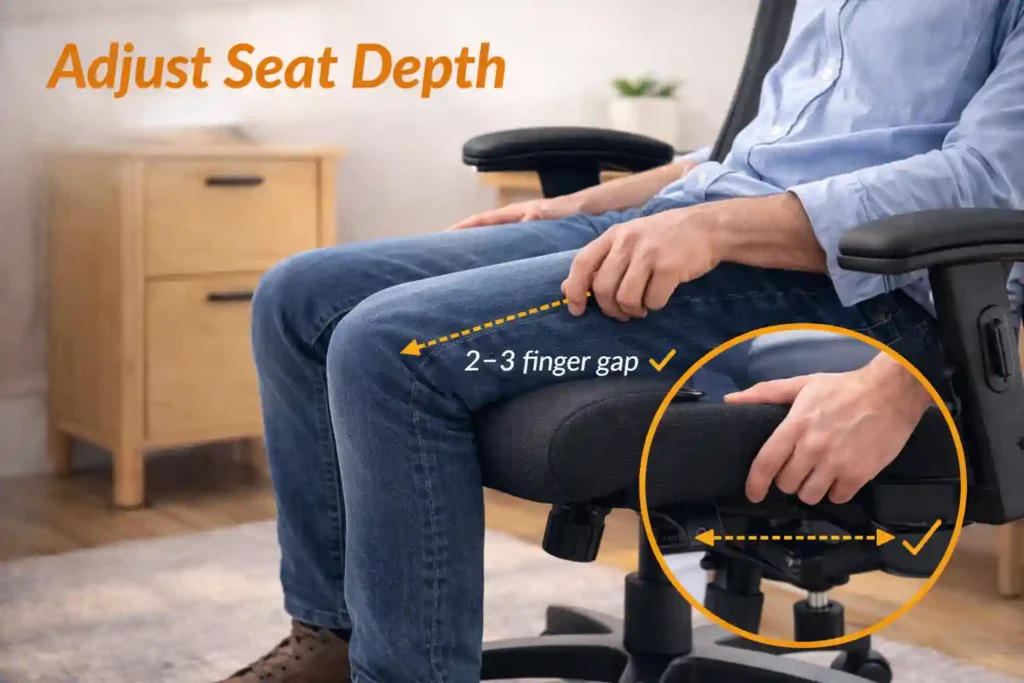
Seat depth means how far the seat extends under your thighs.
Correct depth:
✔ 2–3 finger gap between seat edge and knees
✔ Thighs fully supported
✔ No pressure behind knees
Too deep → circulation problems
Too shallow → poor support
Step 4: Set Backrest Tilt & Recline
Your chair should not be locked perfectly straight.
Best working angle:
✔ Slight recline (100–110°)
✔ Back supported while typing
✔ Shoulders relaxed
A tiny recline reduces spinal pressure and improves comfort.
Step 5: Adjust Armrests Properly
Armrests are often ignored but very important.
Correct armrest height:
✔ Elbows at 90°
✔ Shoulders relaxed
✔ Arms resting lightly
If armrests too high:
→ shoulder pain
If too low:
→ wrist strain
Adjust until typing feels natural.
Step 6: Align Your Desk & Screen
Even a perfect chair won’t help if desk setup is wrong.
✔ Monitor Height
Top of screen at eye level
✔ Screen Distance
About arm’s length away
✔ Keyboard Position
Elbows near body, wrists straight
This keeps neck neutral and prevents forward head posture.
Step 7: Check Foot Support
If your desk is high and feet don’t reach floor:
Use:
- footrest
- small stool
- stack of books
Feet support improves circulation and reduces thigh pressure.
Step 8: Sit Back Fully (Most People Don’t)
Many users sit on the edge of the chair.
Wrong.
Always:
✔ Sit fully back
✔ Use the backrest
✔ Let lumbar support work
Edge sitting removes ergonomic benefits completely.
Step 9: Take Micro Breaks
Even perfect posture isn’t meant for hours.
Every 30–45 minutes:
- stand up
- stretch
- walk 1–2 minutes
This prevents stiffness and fatigue.
Common Chair Setup Mistakes
❌ Chair too high for desk
❌ Lumbar support unused
❌ Sitting forward constantly
❌ Monitor too low
❌ Armrests ignored
Fixing these instantly improves comfort.
Quick 1-Minute Posture Test
Ask yourself:
- Are my feet flat?
- Are knees 90°?
- Is my lower back supported?
- Are shoulders relaxed?
- Is screen at eye level?
If yes → your setup is correct.
Conclusion
A good office chair helps only when adjusted properly.
Correct setup:
- reduces pain
- improves productivity
- protects posture long-term
Spend a few minutes adjusting today, and your body will thank you every day.
👉 If your current chair doesn’t support these adjustments, check our Best Home Office Chairs Under $200 guide for affordable ergonomic options.
6 thoughts on “How to Adjust Your Office Chair for Perfect Posture? (Step-by-Step Setup Guide 2026)”